How to Repot a Plant
Do you know when or how to properly repot a plant? Many of us wait until it is bursting out of its pot, pull it out, put it in a new pot, add some soil and hope it grows.
Here are a few signs that your plant needs a new home:
- The plant simply looks like it is too big for its pot
- The roots are growing out of the drainage holes
- Water is sitting on the top and not absorbing
- The soil is dried out or looks like it is disintegrating
- It’s been years since you repotted it
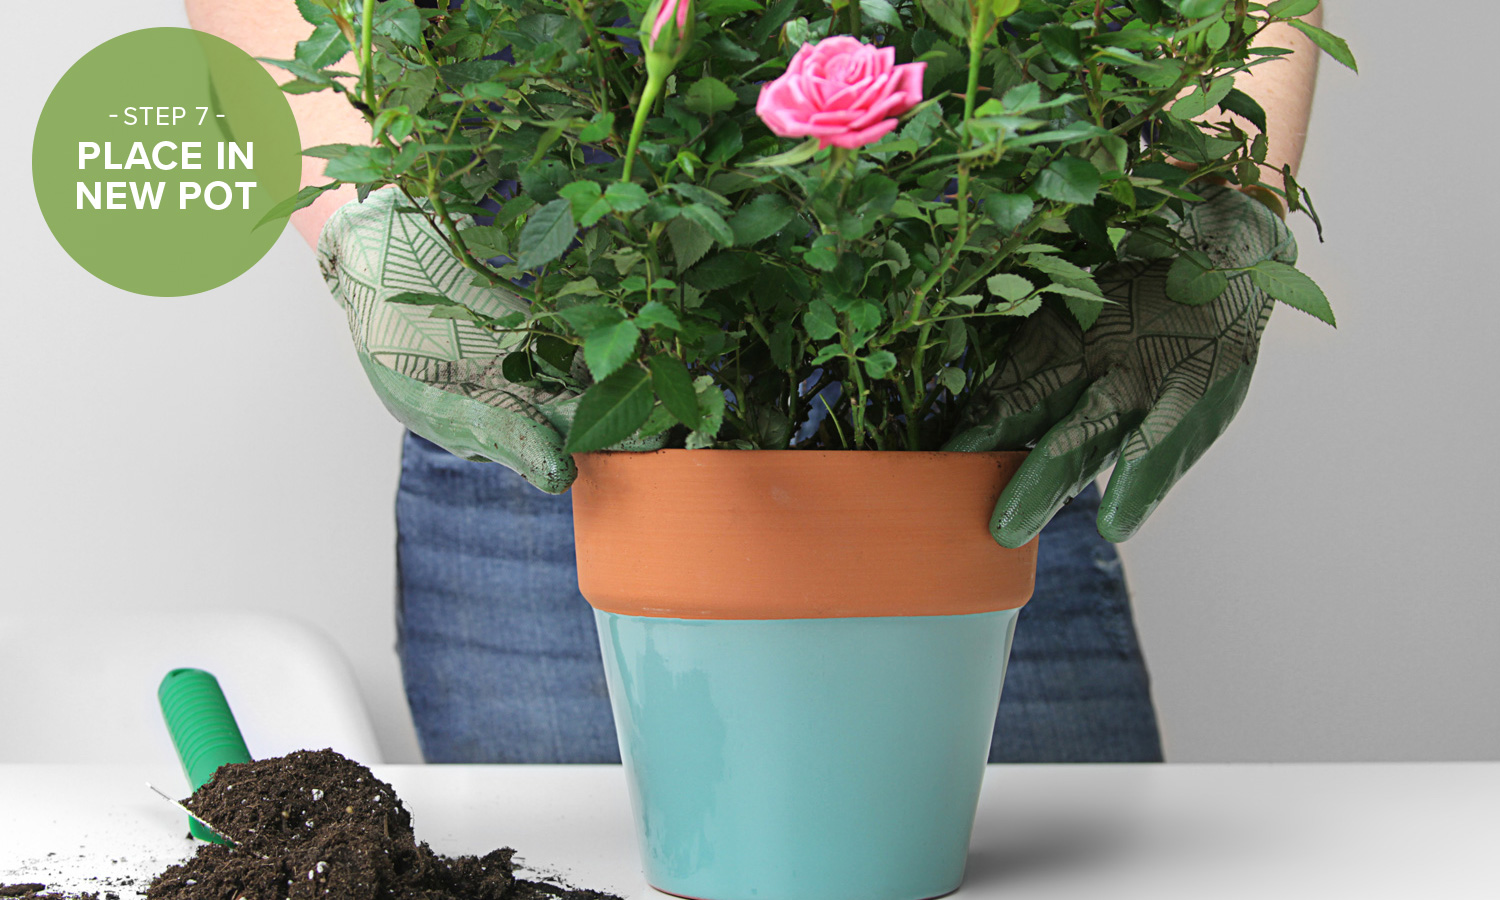
Whether you are transitioning to a new pot because your flowers are flourishing in the springtime weather or you just want to freshen up your decor, we want to give your house plants the best shot at survival in their new home. Follow the seven simple steps and you will be admiring the handiwork of your green thumb in no time.
Before you get to work, let’s make sure you have all the supplies you need.
1.Supplies

- New pot – Be sure to pick a new pot that is slightly larger and has drainage holes.
- Porous material – You will need these to cover the drainage holes in your new pot, coffee filters work great.
- Potting mix – You will need extra soil when repotting and the added nutrients will help your plant grow.
- Trowel – A trowel looks like a mini shovel and comes in handy when trying to remove the plant.
- Gloves – While these aren’t necessary, gardening gloves will keep the dirt from getting under your nails.
- Scissors or a sharp knife – You might need to cut off excess roots so keep a sharp knife or scissors handy.
- Watering can – While this isn’t necessary, a watering can will make watering the plant easier on you.
2.How to Repot a Plant

Step 2: Cover the drainage holes with a porous material like a coffee filter
This prevents soil from falling out but still allows water to pass through.
Pro tip: If you opt for a terra cotta pot, soak it ahead of time. Terra cotta absorbs moisture, and you don’t want it to dry out the plant.


Step 4: Water the plant
Before you repot it, water it thoroughly. This will help keep the plant healthy and keeps the rootball together. Learn about watering plants so you can do it correctly.

Step 5: Remove the plant from it’s old pot
Rather than pulling the plant out, turn it upside down while placing your hand over the top of the pot. Rotate the plant a few inches in both directions to loosen it up and allow it to fall out. You can use a knife to help separate the plant and the pot.

- Water frequently. Your plant will need a little extra water as it adjusts. The roots may begin to grow and will need the extra moisture.
- Keep away from full sunlight as it will be more sensitive during this period.
- Hold off on fertilizing for about a month.

Website: www.hgtv.com